Monday, February 25, 2013

Blueberry Cheesecake

Cheesecake and I are not friends. I hate how good it taste. I hate that it comes in a variety of wonderful flavors. I hate to share my cheesecake. However, I will be your best friend if you share your cheesecake with me until it is gone.
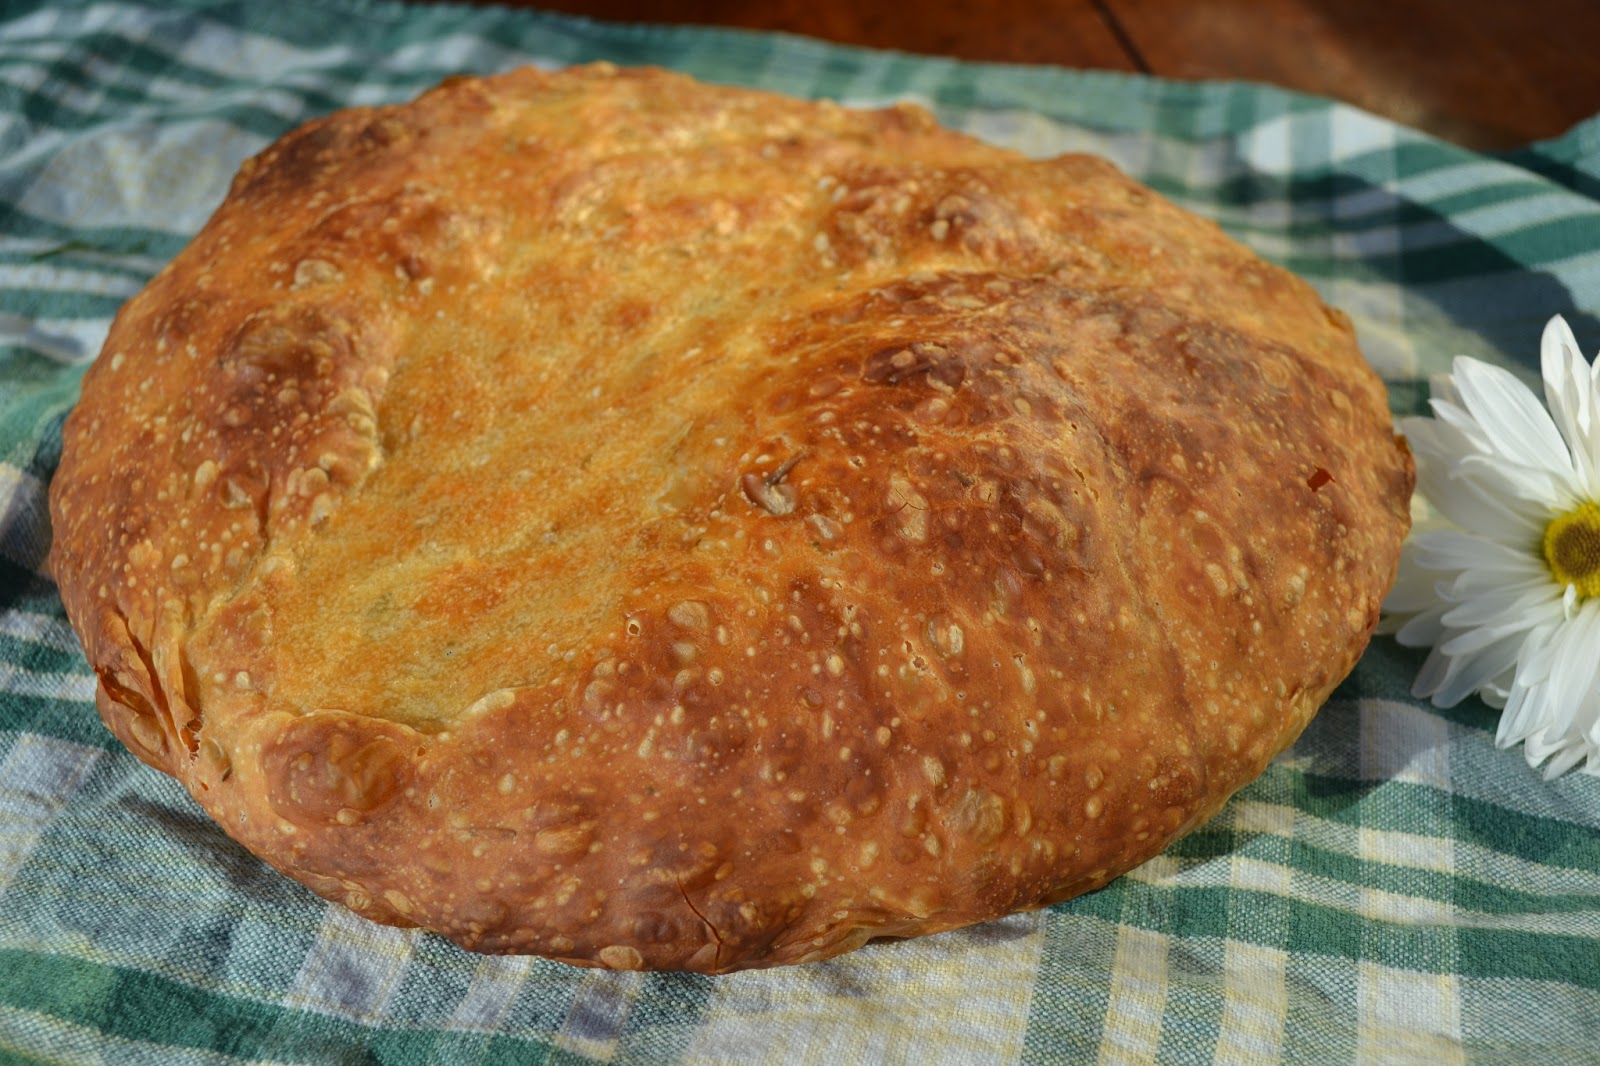
New York Style Cheesecake with a Blueberry topping
Crust:
8 oz. vanilla wafer cookies (about 2/3 of the box)
1/2 cup sugar
1/4 tsp salt
8 Tbsp unsalted butter, melted

Directions:
  1. In a food processor, finely ground the vanilla wafer cookies.
  2. Add the sugar and salt. Pulse a couple of times.
  3. Add the melted butter and mix together.
  4. Press the crust mixture into the bottom of a buttered 9 1/2 inch Springform pan. Set aside.
Cheesecake filling:
5 (8 oz.) packages of cream cheese, softened
2 cups sugar
3 Tbsp all purpose flour
1/2 tsp vanilla
5 large eggs
2 egg yolks

Directions:
  1. Preheat oven to 500 degrees.
  2. On the outside bottom of the Springform pan, cover the bottom and half way up the sides with aluminum foil so no water can enter the pan.
  3. Place the Springform pan in the bottom of an oven safe roasting pan.  (So, the Springform pan is sitting inside the roasting pan and is ready for a water bath.)
  4. In an electric mixer, beat the cream cheese for about 3 minutes until smooth.
  5. Add the sugar and flour and cream for about 5 minutes until smooth.
  6. Add the vanilla and mix for about a minute.
  7. On low speed, add the eggs one at a time. Scrap down the bowl before adding the next egg. 
  8. Add the egg yolks one at a time. Scrap down the bowl after each addition.
  9. Pour the filling on top of the cookie crust inside the Springform pan.
  10. Boil some water and carefully pour the hot water into the oven safe pan so the outside of the Springpan is sitting in a water bath. Only fill the roasting pan with water half way up the side of the Springform pan. Make sure no water spills onto the creamcheese filling. (This will help prevent the top of the cheesecake from cracking. I have never had water leak into the base of my cheescake yet since I lined it with the aluminum foil. Please see youtube for some examples of a water bath if desired.)
  11. Bake the cheesecake for about 10 minutes. The top of the cheesecake should be puffed and golden brown.
  12. Reduce the temperature to 250 degrees and cook for about 45 minutes to an hour. The cake should be mostly firm with the center slightly wobbly if the pan is shaken gently.
  13. Very carefully, remove the pan from the oven and run a knife on the outside edge of the cheesecake to loosen it. 
  14. Allow the cheesecake to cool in the Springform pan.
  15. Chill the cheesecake for at least 6 hours. Make sure to loosely cover the cheesecake without allowing the plastic wrap to touch the top.
Blueberry topping:
1 (15 oz.) package of frozen wild blueberries
1 lemon zested and juiced
1/4 cup of sugar
1 Tbsp cornstarch
1 tsp cinnamon

Directions:
  1. In a small saucepan, combine the blueberries, lemon zest, lemon juice, sugar, cornstarch, and cinnamon.
  2. Bring the mixture to a boil.
  3. Reduce to low and simmer for about 10 minutes.
  4. Allow to completely cool before spooning the mixture on top of the cheesecake.
The cheesecake recipe is adapted from Smittenkitchen. The blueberry topping is adapted from Tyler Florence

One year ago.............................I made Stove Top Mac and Cheese.
Can I just eat it now?
Did you already know...............
-Cheesecake has been around since ancient Greece.
-It is believed that cheesecake was served to the Olympians during the first Olympic games.
-The Romans adapted their own version of cheesecake after conquering Greece.

Friday, February 22, 2013

No Knead Bread

Have you ever read The Story of the Little Red Hen? When I cook, sometimes I feel like the little red hen. Who will help me make supper? Any volunteers? Who will help me clean up? Any volunteers? Sometimes it is better to delegate. I will admit my little ones help more in the kitchen than my oldest. Since I think it is a great skill to know, I will ask for their help. They do like to help cook so it is easy. So, I asked who wants to help me make some bread. My youngest daughter volunteered. I found this recipe awhile ago on Steamy Kitchen but just hadn't made it. She has great instructions on her blog with her four year old son demonstrating how to make this bread. She even has her son kiss the bowl good night. Well, I really thought my nine year old would give me a crazy look when I suggested this move. Nope, she just giggled and kissed it good night. The best part of making this bread was her sense of accomplishment. At supper, she told everyone that she had made the bread. It has a nice crunchy crust with a soft inside. Oh, it is very good. It does need to be started the night before but it is quick. 
No Knead Bread
1 1/2 cups warm water (around 105 degrees F)
1 package of instant yeast
1 tsp sugar
3 cups bread flour
2 tsp salt
2 Tbsp dried rosemary

Directions:
  1. In a large cup, combine the water with the yeast and 1 tsp of sugar.
  2. Allow to proof for about 5 minutes to check the yeast.
  3. In a large bowl, combine the yeast water with the flour, salt, and rosemary until the dough comes together.
  4. Cover the dough with plastic wrap and allow to sit at room temperature for 12 to 20 hours.
  5. After sitting, dump the dough onto a floured surface. With greased hands, fold the ends of the dough over a few times.
  6. Place the dough onto a piece of parchment paper.
  7. Lift the parchment paper with the dough in the center of it and place into a large bowl.
  8. Cover the dough and allow to rest for 2 hours.
  9. When the dough has rested for 1 hour and 30 minutes, slip an oven safe pot (Dutch oven) into the oven and preheat the oven to 450 degrees F.
  10. Carefully, remove the preheated pot from the oven and place the dough into the pot.
  11. Cover the pot and bake for 30 minutes.
  12. Uncover and bake for another 15 to 20 minutes. The crust should be golden brown and the middle of the loaf has reached 210 degrees F.
  13. Carefully, remove the bread from the pot and allow to cool on a wired rack.
Recipe adapted from Steamy Kitchen.

One year ago..............................I made Fruit Smoothie.
Who will make the bread? I will said my youngest.
Did you already know................
-The Little Red Hen is thought to be a Russian folk lore.
-The moral of the story: if you don't help then you shouldn't be rewarded.
-The story has been used by political leaders for the economy.

Wednesday, February 20, 2013

Chess

My son asked me to teach him chess. As I set up the chess board, I couldn't remember any of the names of the pieces. I could remember where the pieces went which is a good start. Then I showed him how the pieces moved on the board. It took me several times to explain to my son that he could not place the Queen where ever on the board. He did try some fancy moves but I would send the piece back for him to try again. I didn't play him to win but to teach him the game. From his vast experience of chess, he told me that I was a pretty good chess player. He is so sweet. At least, I remember his name.
Macerated Strawberries with zest of Grapefruit
1 lb. of strawberries
1/4 cup of sugar
2 tsp of grapefruit zest

Directions:
  1. In a small bowl, mix the strawberries with sugar.
  2. Add the zest and mix well.
  3. Allow the fruit to sit for at least 10 minutes before serving.
Source Jen of Sweet Morris
Why so much sugar? It is the amount my children added before I stopped them. Why grapefruit zest? I couldn't find my lemon and it is what I had on the counter. Is it good? Oh, very good!

One year ago......................I made Mexican Chocolate Fudge-Pecan Cake.

Did you already know.........
-Chess originated from India.
-The pieces of chess are the rook, knight, bishop, queen, king, and pawn.
-The player with the white pieces goes first.

Monday, February 18, 2013

Happy President's Day!

Yes, I love holidays. I really like holidays that I'm able to spend the day at home with my children. My love for the holidays probably stem from my parents. No, they didn't celebrate the minor holidays like President's day. My son's favorite President is President George Washington. He likes to tell me the cherry tree story often. Since I realized I have never posted the pie crust recipe I use, I made cherry hand pies. When I make pie crust, I always use my food processor but it could easily be made by hand. I've been making this recipe for over ten years but sometimes with no shortening and all butter. 
 Pie Crust
 2 1/2 cups all purpose flour
1 tsp salt
2 tsp sugar
8 oz. unsalted butter, chilled
8 oz. shortening
1/4 to 1/2 cup very cold water

Directions:
  1. Cut the butter into small pieces and chill.
  2. Place the flour, salt, and sugar in a food processor.
  3. Pulse the flour mixture for 30 seconds.
  4. Add the butter and pulse for about 10 seconds. The mixture should resemble coarse meal.
  5. Continue pulsing while slowly adding the cold water. Stop when the mixture begins to come together. Do not pulse for more than 30 seconds.
  6. Turn the dough onto a clean, lightly floured surface.
  7. Form one large ball and cut it in half.
  8. Wrap each half with plastic wrap and refrigerate for at least 1 hour.
  9. Use the dough within a day for best results.
Recipe adapted from Martha Stewart Living 2002 Annual Recipes.
One year ago........................I made Ham, Cheese, & Fried Egg Panini.
Place the initial for each person on each pie. M is for Morris!
Did you already know..........
-President George Washington was born on February 22, 1732.
-President George Washington had 3 older half siblings and 5 younger siblings.
-The family home Mount Vernon was previously named Little Hunting Creek Plantation.

Thursday, February 14, 2013

Valentine's Day

Happy Valentine's Day! I hope you had a great day. My daughter asked me to bake cupcakes for her class. I always loved Valentine's Day at school. I would receive lots of Valentine cards from my classmates. My teacher normally threw a party and it was a pretty easy day. Can you imagine if we could have a Valentine Party at work? I'm pretty sure my boss would not go for it. 
Well, my daughter said she had a great day. All the students in her class had one of her cupcakes. She thought they were great . The recipe makes 24 so the last one I was able to share with my husband. We really liked this cupcake. I will say I still feel spoiled on Valentine's Day. I hope you had a special day even if it was just pampering yourself.
Magnolia's Vanilla Cupcake
1 1/2 cup self rising flour
1 1/4 cup all purpose flour
1 tsp baking powder
1 cup unsalted butter, softened
2 cups sugar
3 large eggs
1 cup milk
1 tsp vanilla extract

Directions:
  1. Preheat the oven to 350 degrees F.
  2. Line a muffin tin with cupcake liners.
  3. In a small bowl, combine the flours with the baking powder. Set aside.
  4. In a large bowl, cream the butter until smooth.
  5. Add the sugar to the butter and beat until fluffy.
  6. Add the eggs one at a time to the butter mixture.
  7. In a large cup, combine the milk and vanilla.
  8. Alternating between the flour mixture and the milk mixture, add slowly to the butter mixture. Do not over mix.
  9. Evenly spoon the cupcake batter into the cupcake liners.
  10. Bake the cupcakes for 20 to 25 minute or until the toothpick inserted into the center of the cupcakes comes out clean.
  11. Allow the cupcakes to cool completely before frosting.
Recipe adapted from Sara's Secrets.
One year ago.......................I made Heart Pie Pops.
Did you already know.........
-Over 140 million greeting cards are purchased for Valentine's Day. 
-It is the 2nd most popular occasion for purchasing a greeting card.
-The majority of the cards are purchased within the week of Valentine's Day.
Happy Valentine's Day!