Lately, my husband is complaining that I should not hid vegetables in his food. He thinks I should disclose any added vegetables to his food so he has a choice. So, I figured I would see his reaction when I asked him to try my chocolate zucchini bread. He hesitated in taking the bread and I had to convince him that he would like it. He did and couldn't believe the bread had a vegetable in it. My sister said that she couldn't see any zucchini in her piece. I said it's because I coated it in cocoa powder. I even used two medium zucchinis for this bread.
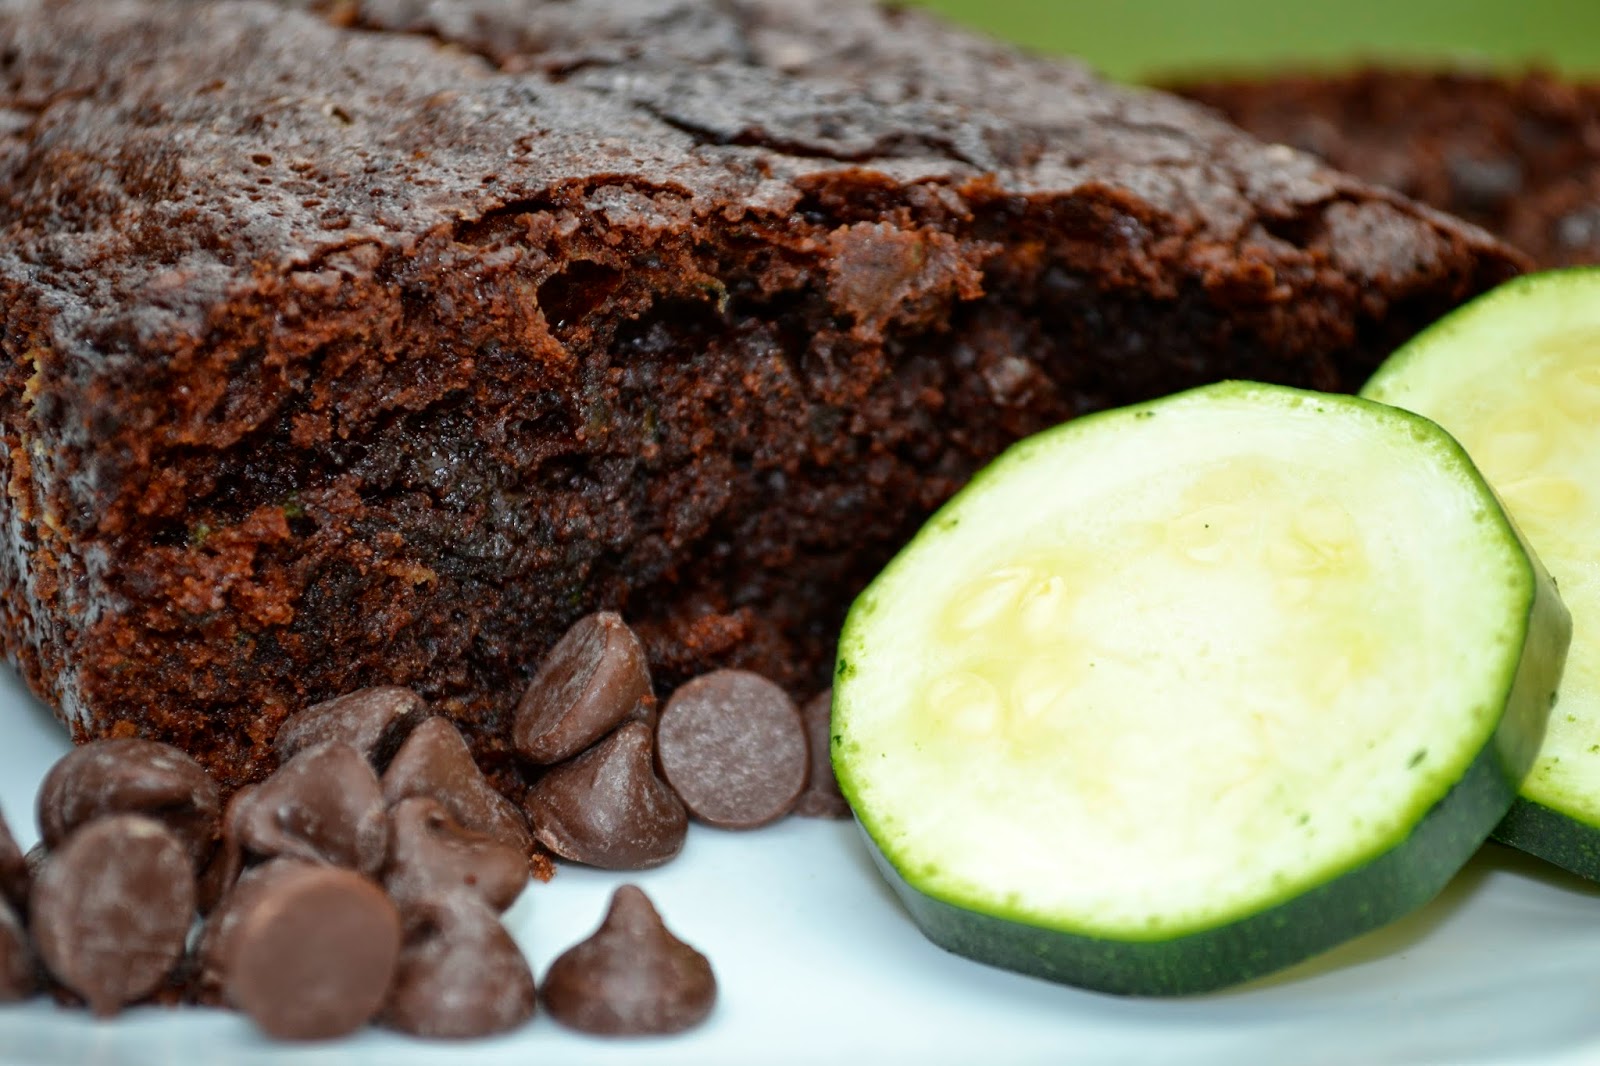 Nutella Chocolate Zucchini Bread
1/2 cup cocoa powder
2 cups sugar
2 cups zucchini, shredded
1/2 cup vegetable oil
1/2 cup Nutella
3 eggs
1 tsp vanilla extract
2 cups flour
1 tsp baking soda
1 tsp salt
1 tsp ground cinnamon
1 cup chocolate chips
Directions:
One year ago..........................I made Double Roasted Chicken.
Two years ago........................I made Peacharine Cream Cheese Tart.
 Did you already know......................
-Zucchini is native to Central America.
-The largest recorded zucchini weighed 65 pounds.
-Zucchini can be eaten cooked or raw.
1/2 cup cocoa powder
2 cups sugar
2 cups zucchini, shredded
1/2 cup vegetable oil
1/2 cup Nutella
3 eggs
1 tsp vanilla extract
2 cups flour
1 tsp baking soda
1 tsp salt
1 tsp ground cinnamon
1 cup chocolate chips
Directions:
- Preheat oven to 350 degrees F.
- Spray two bread pans with nonstick baking spray.
- Dust the bread pans with cocoa powder and tap off any excess cocoa powder.
- In a large bowl, combine the cocoa powder, sugar, and shredded zucchini.
- Add the vegetable oil, Nutella, eggs, and vanilla extract. Stir to incorporate.
- Add the flour, baking soda, salt, and cinnamon. Stir until combined.
- Fold in the chocolate chips.
- Evenly distribute the batter between the two pans.
- Bake the bread for 55 minutes or until a toothpick inserted in the middle comes out clean.
One year ago..........................I made Double Roasted Chicken.
Two years ago........................I made Peacharine Cream Cheese Tart.
-Zucchini is native to Central America.
-The largest recorded zucchini weighed 65 pounds.
-Zucchini can be eaten cooked or raw.


